
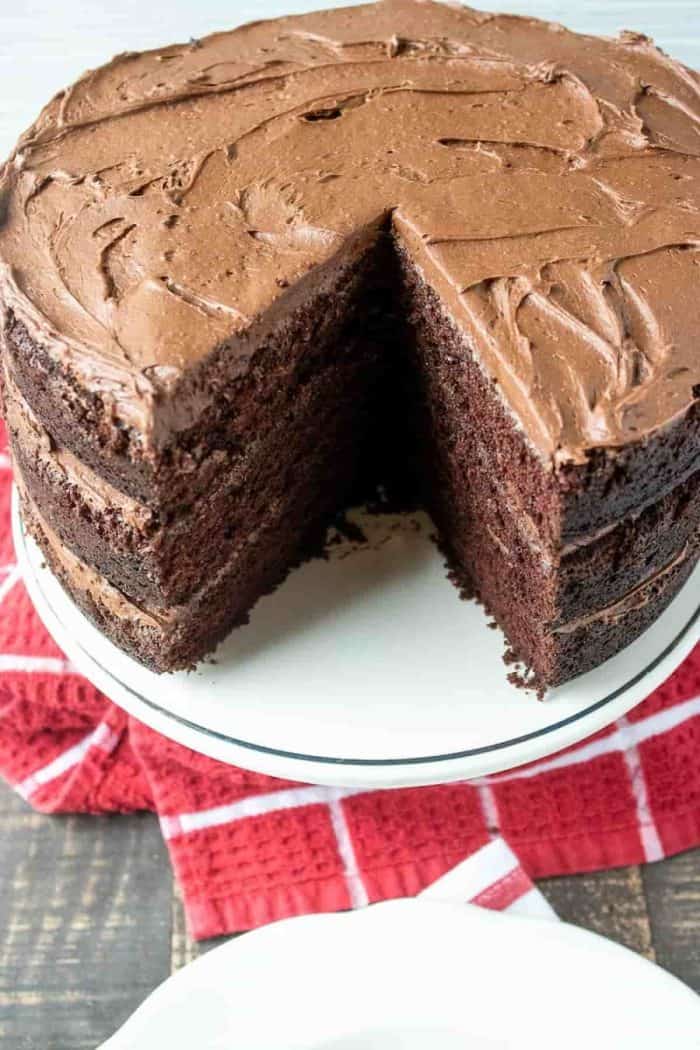
Can’t curb your chocolate craving? Meet your new best friend: this decadent chocolate layer cake!
With sinfully delectable chocolate frosting and addictively moist cake layers striking the perfect balance between fudgy and light, this is the only chocolate cake recipe you’ll ever need!
You don’t even need to be a baking whiz to make it; it’s super easy to whip up with straightforward steps.
Ready to bake your way to chocolate bliss? Let's begin!
Why This Chocolate Layer Cake Recipe Is Guaranteed To Be the Best You’ve Ever Had
- Deep chocolate flavor — This recipe mixes unsweetened cocoa powder with boiling water, which blooms the powder and intensifies the chocolate taste, making you swoon with each bite.
- Tender but fluffy and light sponge — This recipe’s combination of creamed butter and sugar with room-temperature eggs ensures a smooth, fluffy, and light cake batter with a consistent crumb that's never dry.
- Smooth and silky frosting — The chocolate buttercream frosting is the crowning glory of this cake, enveloping each layer in a sweet embrace that perfectly complements the deep chocolate flavor of the sponge.
- Easy to make ahead — Need to prep ahead for a lunch party or a Sunday dinner? Good news: you can make these layers the night before your celebration and frost them the next day!
Ingredients Needed
To make this chocolate layer cake, you’ll need the following ingredients:
- 1 cup unsalted butter
- 2 ½ cups granulated sugar
- 4 pieces eggs
- 2 teaspoons real vanilla extract
- 3 cups all-purpose flour
- 2 teaspoons and baking soda
- 1 teaspoon baking powder
- ½ teaspoon salt
- 1 cup unsweetened cocoa powder
- 2 ¼ cups boiling water
How To Make Chocolate Layer Cake: A Step-by-Step Recipe
Ready to whip up a rich, moist chocolate layer cake that your friends and family will beg you to make every time they come over?
Follow these detailed instructions to transform your ingredients into scrumptious chocolate cake layers!
1. Make Preparations
Begin by preheating your oven to 350°F.
Prep three 8-inch round cake pans by greasing them and dusting them with flour. Line the bottom of each one with parchment paper afterward, then set them aside for later.
2. Cream Butter and Sugar
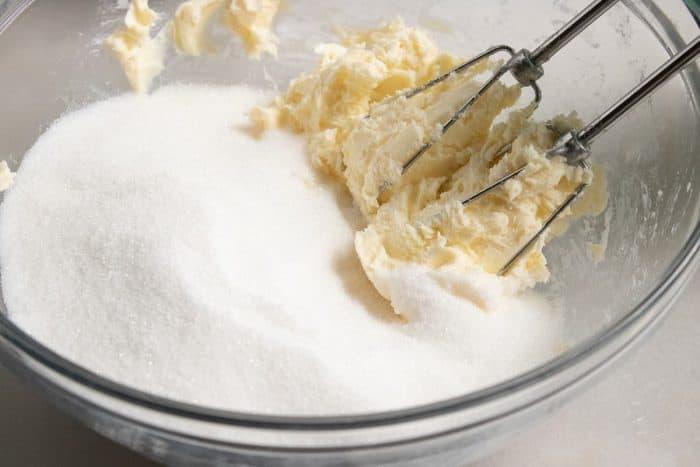
In a mixing bowl, cream the butter and sugar together until you achieve a fluffy mixture.
3. Mix Wet Ingredients
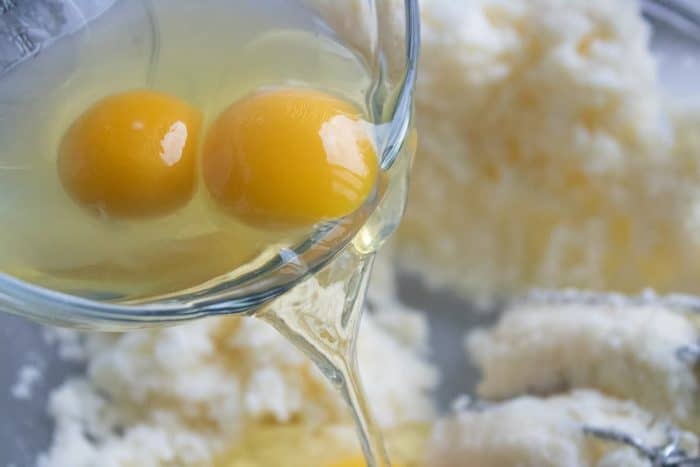
Crack in the eggs and pour in the vanilla extract, then continue to mix until they’re all perfectly blended together.
4. Mix Dry Ingredients
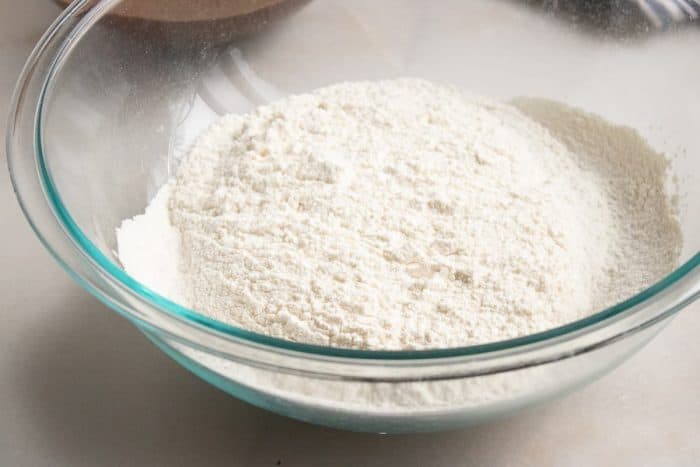
Grab another mixing bowl and whisk together the all-purpose flour, baking soda, baking powder, and salt.
5. Bloom the Cocoa Powder
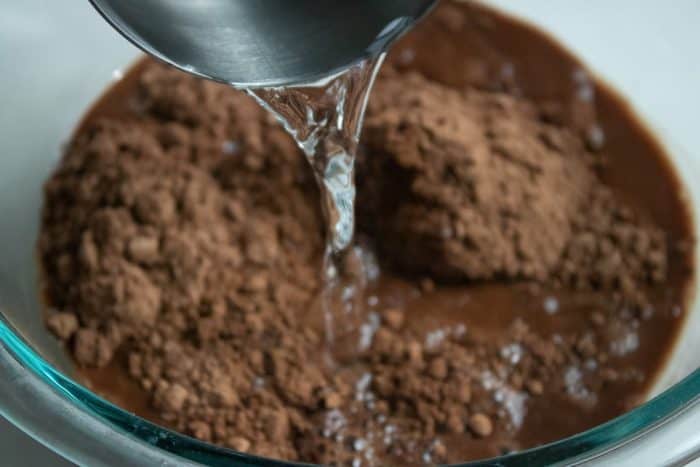
In a separate medium bowl, stir the cocoa powder into boiling water until it's fully dissolved in a smooth mixture. Make sure there are no lumps.
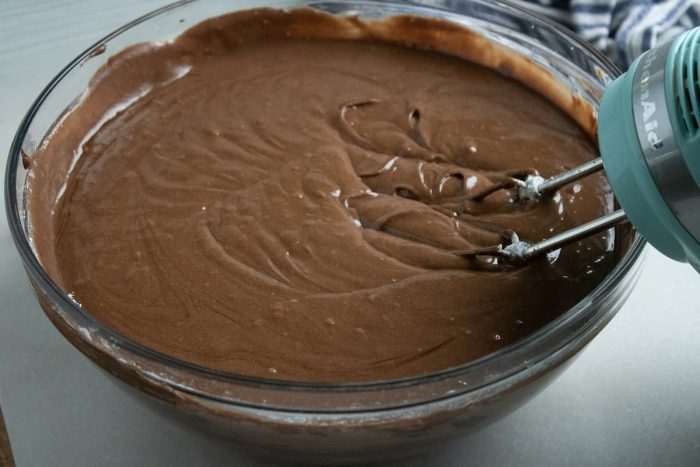
6. Add the Flour Mixture and Cocoa Mixture

Alternate between adding the flour mixture and the cocoa mixture to your creamy butter base.
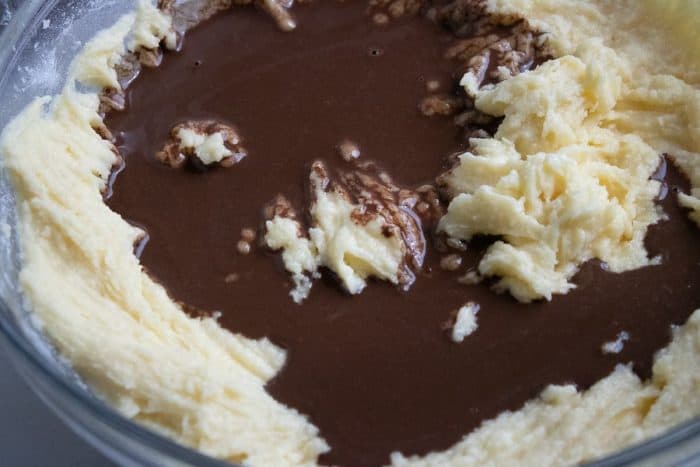
Blend slowly on low speed to ensure each ingredient is fully incorporated and create an even and smooth batter.
7. Distribute the Batter
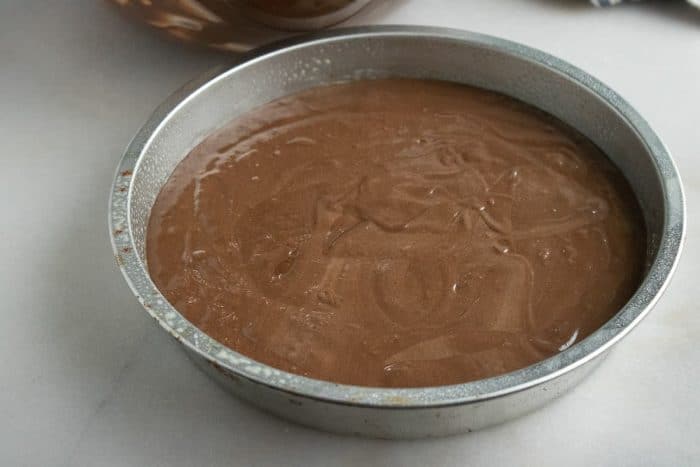
Evenly distribute the batter among your prepared pans and smooth out the tops.
8. Get Baking
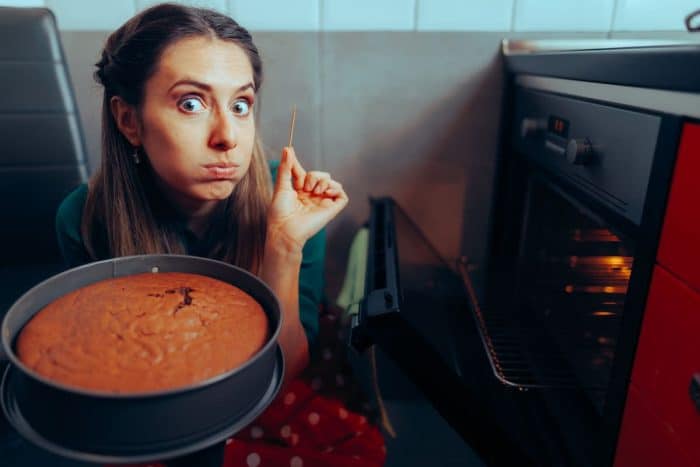
Slide your pans into the oven and bake for 22 to 28 minutes.
You can test for doneness by inserting a toothpick into the center and checking if it comes out clean and free of batter.
9. Let the Layers Rest
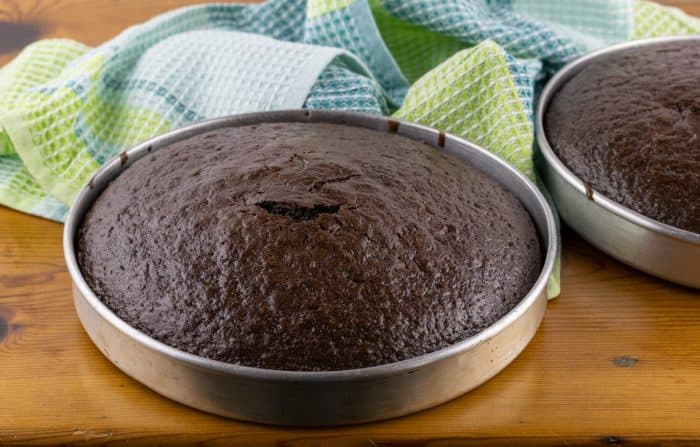
Once baked, remove the cakes and let them rest in their pans for about 10 minutes.
This allows them to firm up just enough for a smooth, mess-free transfer to your wire rack, where they’ll cool completely for another 10 to 15 minutes.
Remember that the cakes should be at room temperature before you start to frost.
10. Assemble, Frost, and Serve!
Now it's time to assemble the cake. Flip the first cake layer upside down onto your chosen plate, then spread a third of your frosting over it.
After this, take the rounded top off the second layer with a serrated knife or a cake leveler. Place it top-side down over the first layer and add a thin layer of frosting.
Repeat these steps with the final cake layers, then finish with a generous spread of frosting on top.
Finally, slice into this towering treat and serve up the chocolatey goodness!

Bonus Recipe: Chocolate Buttercream Frosting
We’ve got a special surprise for you: we’ve also included a recipe for the chocolate buttercream frosting!
Follow these steps to make the most luscious chocolate frosting:
1. Prepare Your Ingredients
For the frosting, you’ll need these ingredients:
- 1 cup unsalted butter, room temperature
- ½ cup cocoa powder
- 16 oz. powdered sugar
- 1 to 2 tablespoons of whole milk
- 1 teaspoon of real vanilla extract
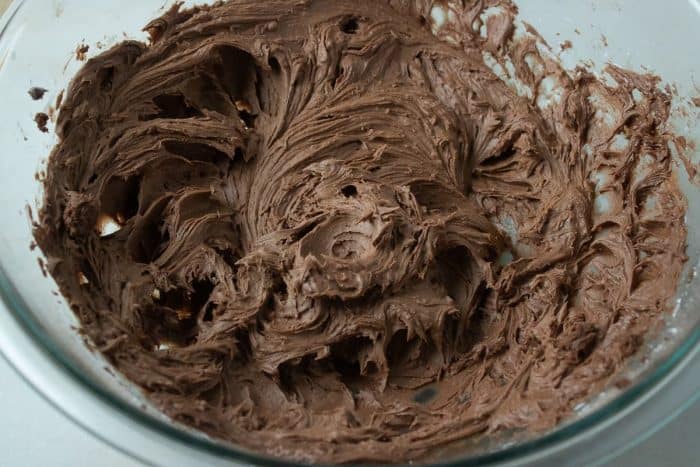
2. Mix the Butter and Cocoa Powder
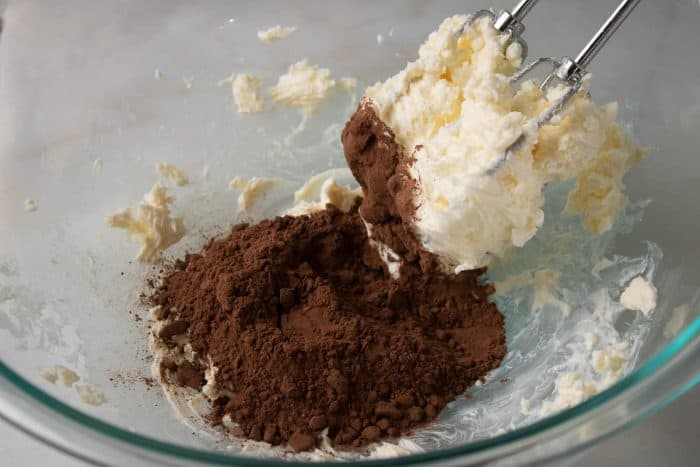
Mix the unsalted butter and cocoa powder in a large bowl until fully combined, making sure the mixture is even.
3. Add Powdered Sugar
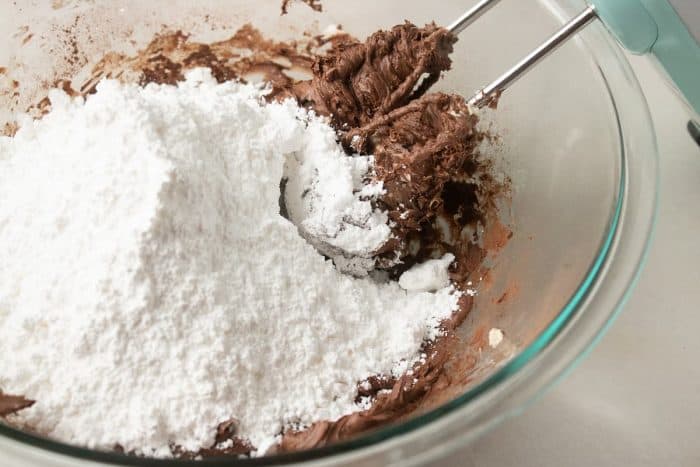
Gradually mix in 16 ounces of powdered sugar at low speed to achieve a dense and rich consistency.
Keep mixing until the sugar is completely incorporated into the butter and cocoa, and you have a consistent, lump-free mixture.
4. Add Milk and Vanilla Extract
Finally, fine-tune the texture and flavor of your frosting by stirring in one to two tablespoons of whole milk and a teaspoon of real vanilla extract.
Add the milk slowly until the frosting achieves your preferred consistency. It should be smooth enough to spread easily over your cake layers without being too runny or stiff.
Expert Tips for Perfect Chocolate Layers Every Time
If you want to make sure you get amazing results with this recipe (especially if you’re new to making cakes!), keep these tips in mind:
- Sift your flour and cocoa powder. To ensure your cake has a fine, velvety texture, sift the flour and cocoa powder before adding them to the mix. This prevents lumps and ensures a smoother batter.
- Tap your pans. For an even rise, tap the filled cake pans gently on the counter before baking to release any large air bubbles.
- Get a turntable. If you're aiming for a cake with a professional touch, use a cake turntable when applying the frosting. It makes the process smoother and helps achieve a more uniform look. This is especially helpful if you want to cover your entire cake in frosting as opposed to frosting only the layers and the top of the cake.
- Check for doneness. Remember that ovens can vary, so start checking your cakes for doneness a few minutes before the suggested baking time to help prevent overbaking.
- Weigh your batter for even distribution. To achieve even layers, use a kitchen scale to divide the batter equally among the pans.
- Use room-temperature ingredients. Room-temperature ingredients blend more easily, resulting in a smoother batter and a more uniform cake texture. Cold ingredients can lead to a batter that's too stiff and cakes that don't rise properly.
- Cover your pans if you’re making them ahead of time. Once your cakes have cooled sufficiently after baking, you can cover the pans with foil or plastic wrap. The next day, your cakes will be set and ready for frosting.
- Add chocolate chips or chocolate curls. Make this a triple chocolate cake by sprinkling chocolate chips on top of the cake or adding chocolate curls or shavings for a touch of elegance.
Frequently Asked Questions
Can I Make This Cake With a Different Type of Frosting?
Absolutely! While this cake pairs beautifully with chocolate frosting, you can use vanilla buttercream, chocolate cream cheese frosting, or even marshmallow fluff frosting for variety.
Experimenting with different frostings and filings can give this classic cake a whole new twist.
How Do I Make This Cake Gluten-Free?
Yes, you can make this cake gluten-free by substituting the all-purpose flour with your preferred gluten-free flour blend.
There are plenty of good gluten-free options on the market for chocolate cakes, such as Bob’s Red Mill 1 to 1 Gluten Free Baking Flour or the King Arthur Measure for Measure Flour.
Can I Use Cake Pans in Different Sizes?
Yes, but you'll need to adjust the baking time. For larger pans, the cake will be thinner and bake quicker. For smaller, deeper pans, it will take longer.
Always do the toothpick test to check for doneness.
How Should I Store Leftover Cake?
Store your leftover cake in an airtight container at room temperature for up to two days or refrigerate it for up to four days.
Chocolate Layer Cake
Ingredients
For the Chocolate Cake Layers:
- 1 cup unsalted butter softened to room temperature
- 2 ½ cups granulated sugar
- 4 large eggs room temperature
- 2 teaspoons real vanilla extract
- 3 cups all-purpose flour
- 2 teaspoons baking soda
- 1 teaspoon baking powder
- ½ teaspoon salt
- 1 cup unsweetened cocoa powder
- 2 ¼ cups boiling water
For the Chocolate Buttercream Frosting:
- 1 cup unsalted butter room temperature
- ½ cup cocoa powder
- 16 oz. powdered sugar
- 1 to 2 tablespoons whole milk
- 1 teaspoon real vanilla extract
Instructions
For the Chocolate Cake Layers:
- Preheat your oven to 350°F.
- Grease and flour three 8-inch round cake pans. Line the bottom of each pan with parchment paper.
- Cream together the butter and sugar in a large mixing bowl until light and fluffy.
- Add the eggs and vanilla into the bowl, mixing thoroughly to combine them into the creamed butter mixture.
- Whisk the flour, baking soda, baking powder, and salt in a separate bowl.
- Dissolve the cocoa powder in boiling water in a medium bowl, stirring until smooth and fully incorporated.
- Alternate adding the dry ingredients and the cocoa mixture to the creamed butter. Mix on low speed to gently combine without overmixing.
- Divide the batter evenly among the prepared cake pans and smooth out the tops.
- Bake the cake layers in the preheated oven for 22 to 28 minutes or until a toothpick comes out clean from the center of each cake.
- Allow the cakes to cool in their pans for 10 minutes, then transfer them to a wire rack to cool completely for another 10 to 15 minutes.
- Assemble the cake by placing the first layer top-side down on a cake plate and evenly spreading a third of your chosen frosting over it.
- Level the top of the second layer, then place it top-side down on the first layer, adding more frosting and spreading it evenly.
- Repeat the leveling and frosting with the third layer, then apply the remaining frosting on top for a smooth finish.
- Slice and enjoy the cake!
For the Chocolate Buttercream Frosting:
- In a large bowl, mix one cup of room-temperature unsalted butter with half a cup of cocoa powder until well combined.
- Slowly mix in powdered sugar at a low speed until smooth.
- Incorporate one to two tablespoons of whole milk and one teaspoon of real vanilla extract. Feel free to adjust for your desired consistency and flavor.
Nutrition
Treat Yourself to This Decadent Chocolate Layer Cake!
Now that you’ve got this decadent chocolate layer cake recipe in your baking repertoire, you're all set to impress at your next event or satisfy those spontaneous chocolate cravings!
As you can see, this recipe is so quick and easy to throw together!
We hope you're inspired to give this cake recipe a try (and maybe even add your own twist) and share it with your loved ones! After all, a slice of cake is always better when enjoyed together.
Leave a Reply